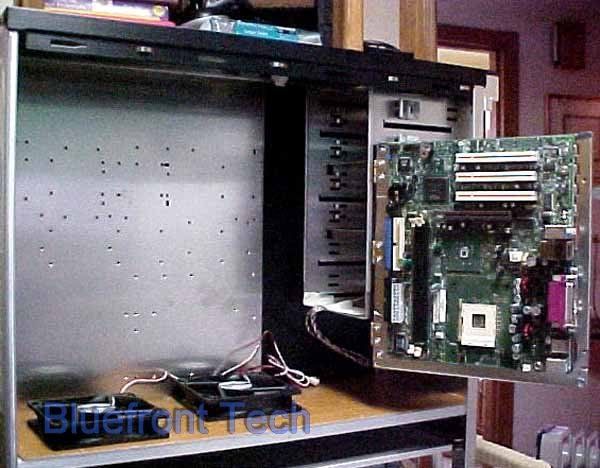
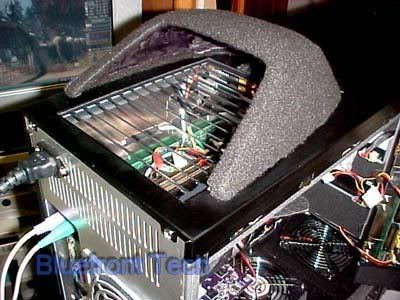
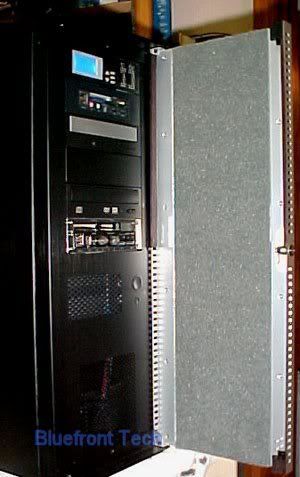
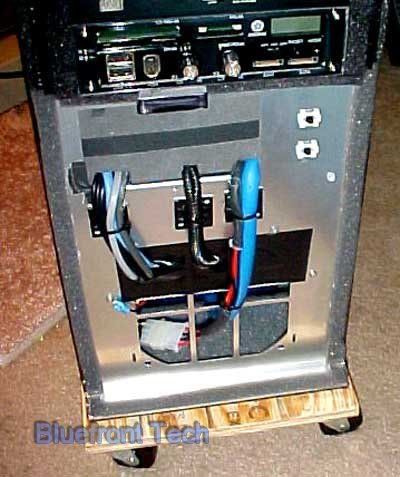
Thanks.....I've had this idea in my head for a while, but never found the right-sized case for such a project. I had been considering making the whole thing out of wood and steel panels, but this Lian Li case will be much lighter. Not to mention cheaper, and easier to construct.
I suspect there are other dual MB computers out there.....and Thermaltake makes a high-dollar case just for the setup. But I can't recall ever seeing one made out of a standard case.
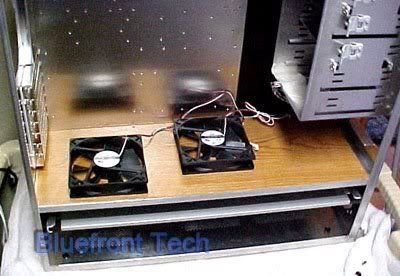
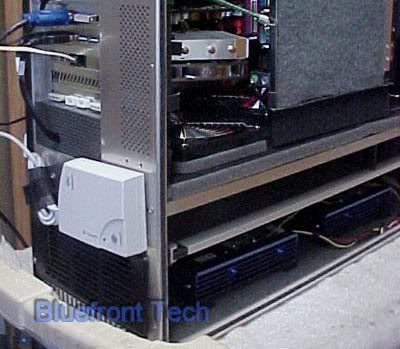
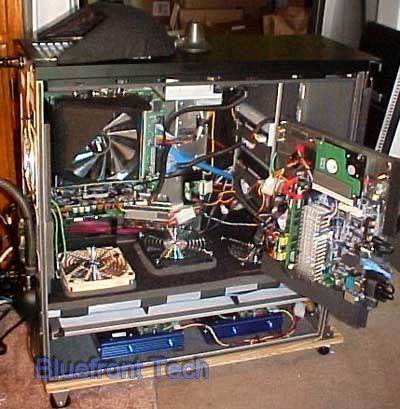
Fan control......somewhat complicated. Neither board has a built-in fan control. But I've tested each board separately so I have a good idea what's necessary. The bottom intake fans need to run and be separately controlled whichever board is running....so. I have an AC power strip with a remote controller. Each board will plug into this strip, along with a dedicated 12V power supply for the intake fans. So in order to get either computer to turn on, the power strip will need to be turned on (which will turn on the intake fans). Then I'll need to turn on whichever board I want to use. Fairly simple.
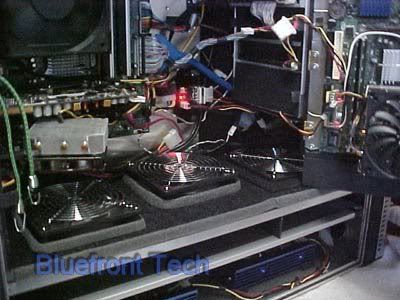
The intake fans will have their own controller....An M-Cube MiniNG. This has two separate channels on auto-control. Whichever board is in use will cause it's own intake fan to speed up when it gets hot....the other intake fan will idle.
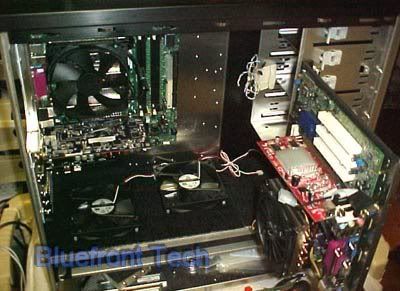
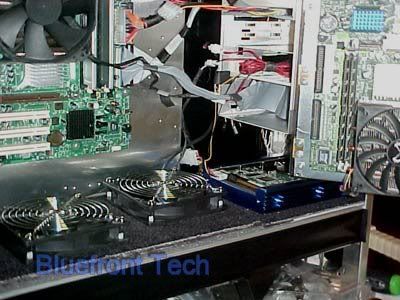
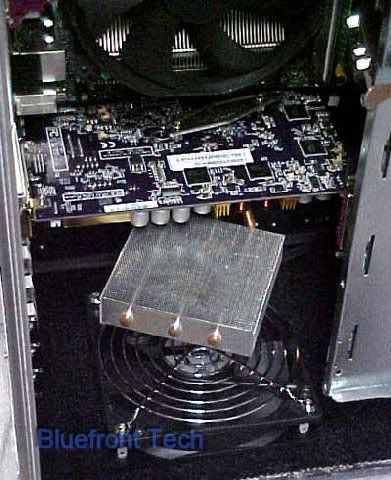
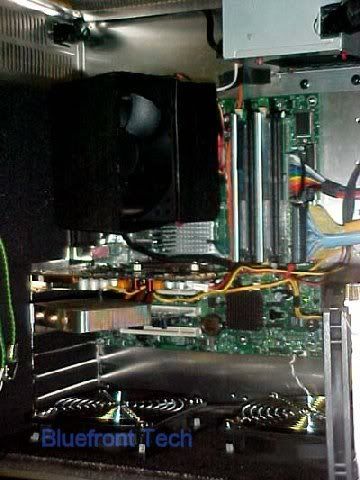
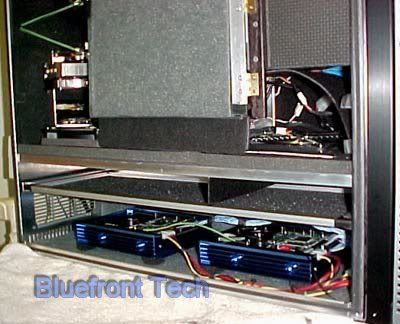
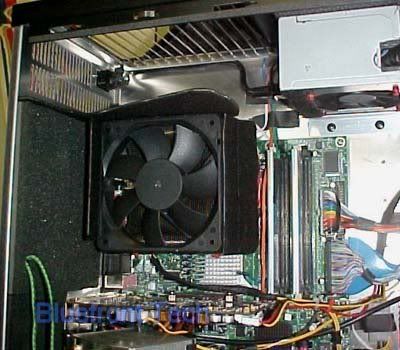
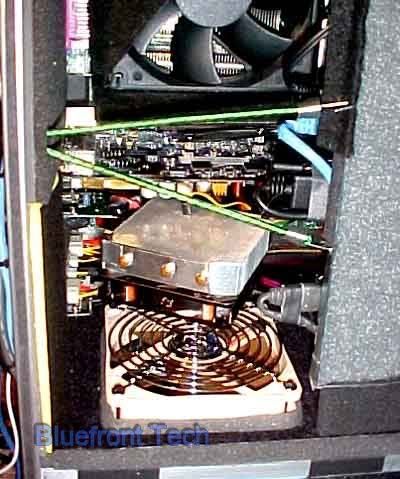
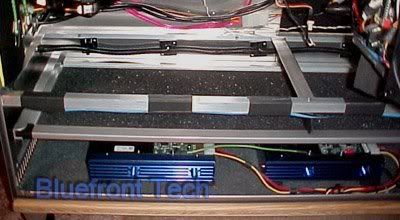
The swing-out board will run it's Scythe fan at a fixed voltage (about 8V), set by a manual controller. The main board will have it's Thermalright heatsink fan, controlled by a Noisemagic NTM3. The PSU for the main board will be stock....a PSU with a bottom intake located at the top of the case, directly above the secondary board. The HD for the main board will have a dedicated fan controlled manually. The secondary board will use a laptop drive, so no additional cooling is necessary.
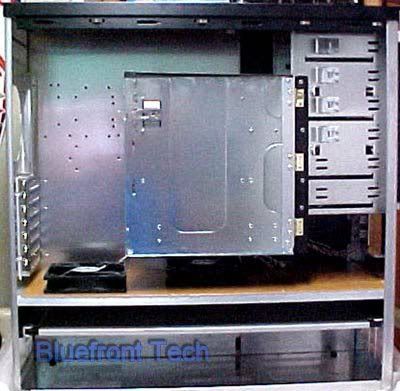
That's it.....no exhaust fans, other than the PSU fan which will be back inside the case, simply blowing at the exhaust vents. Sounds complicated, but I have all the pieces already, and have tested everything separately. So I should be ok here. The next set of photos should make everything clearer.