Still... A P180 Rig: Mod for Behind the Motherboard Cabling

Show off your quiet rig.

Moderators: NeilBlanchard, Ralf Hutter, sthayashi, Lawrence Lee

Post Reply
Mr. B
Posts: 72
Joined: Sat Nov 11, 2006 1:41 pm
Location: New Orleans
Contact:

Still... A P180 Rig: Mod for Behind the Motherboard Cabling

Post by Mr. B » Sat Jul 31, 2010 1:42 pm

This is the third build in my beloved Antec P180 case. The first and second builds were also posted here. Prior modifications to this case including removing the fan grills and improving airflow on the filter doors, both now commonly seen modifications.

Full gallery with 8mp images located at http://mrbsdomain.com/gallery/index.php ... ory/mypc10

Image

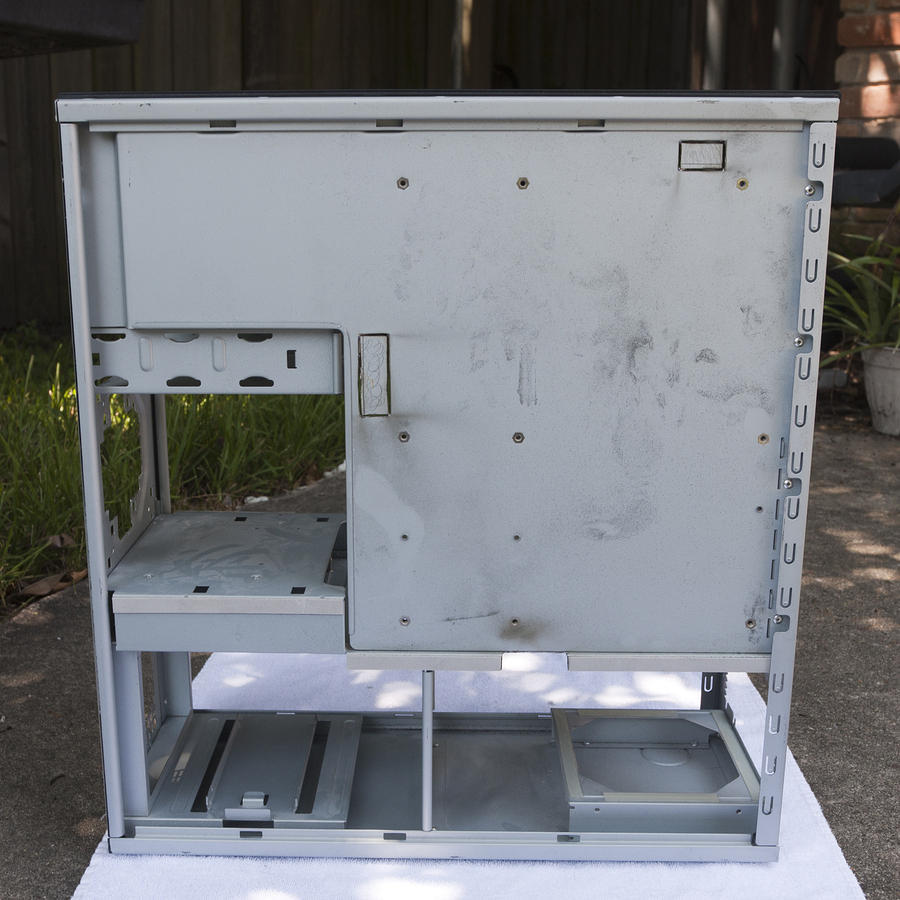
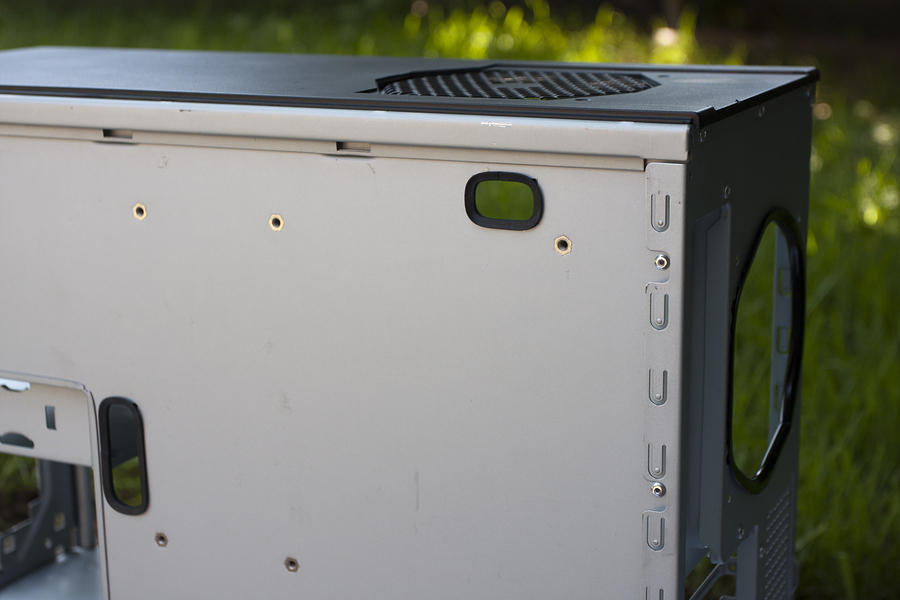
In the course of shopping for new parts I was tempted to upgrade my case but instead elected to break out the Dremel again to attain some of the benefits of the newer P series cases, namely the ability to run wires behind the motherboard. I have also held onto some other parts I'm fond of like the Seasonic PSU.


I'm not the first person to make these particular cutouts in a P180 case so I was largely following the lead of others shown here and elsewhere. This was my first time cutting into the steel beyond the fan grills (work shown in last build) so I developed a slightly heightened appreciation for the strength of the case.

Image


Image


These are the new parts. Not pictured are the new DVD burner and additional 1.5tb hard drive.
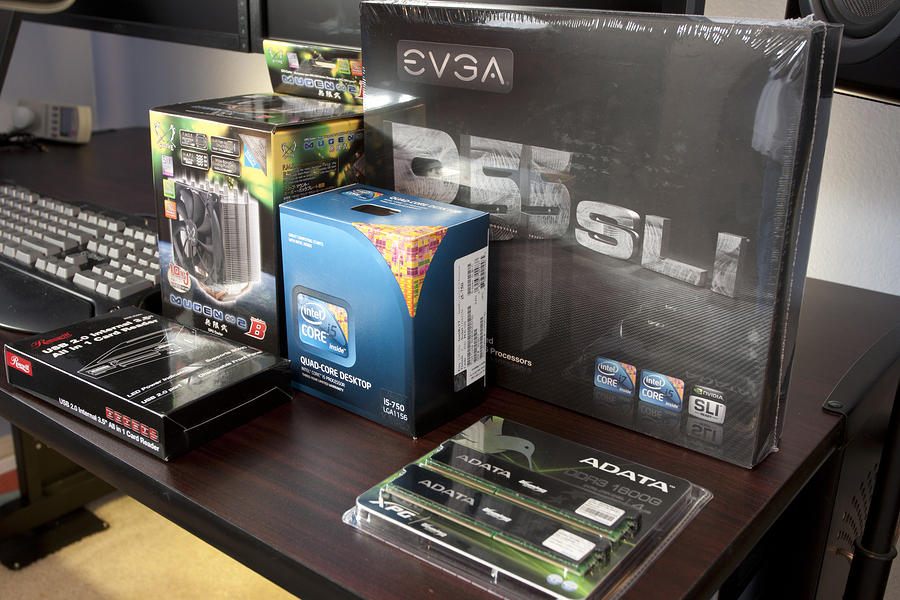
Image

Full Parts List:

Antec P180 Case
Seasonic S12-500 500 watt Power Supply

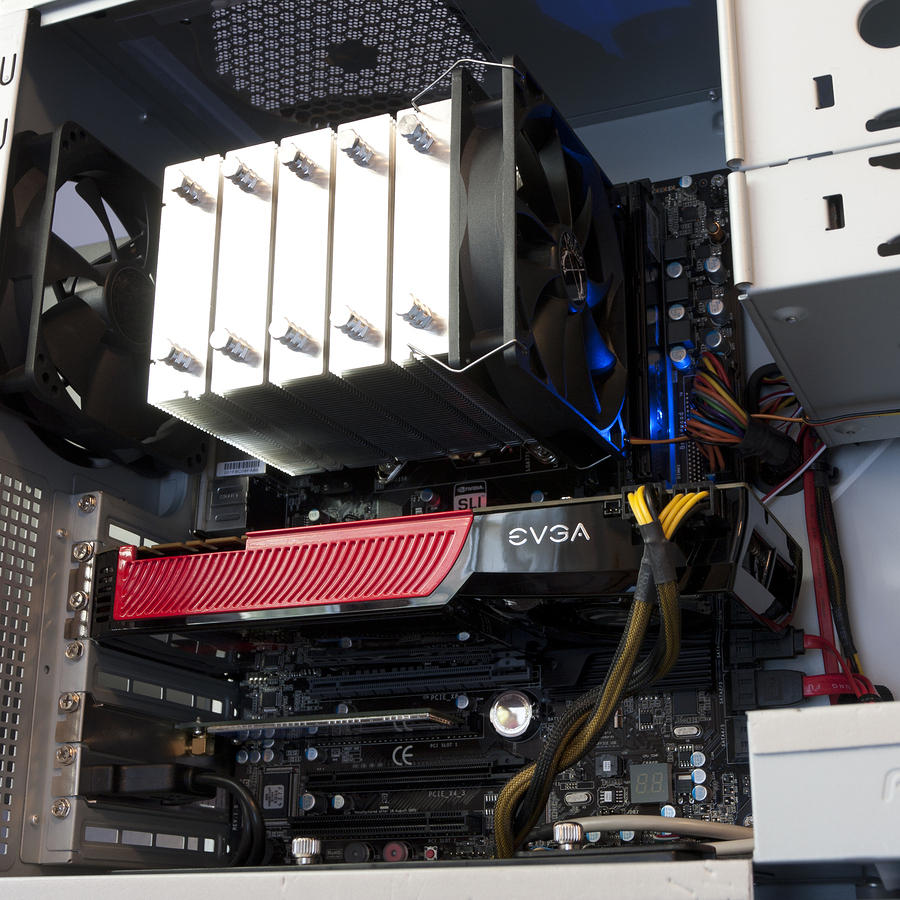
EVGA P55 SLI 132-LF-E655-KR LGA1156 Intel P55 ATX Intel Motherboard
Intel Core i5-750 Lynnfield 2.66GHz LGA 1156 95W Quad-Core Processor BX80605I5750
with Scythe Mugen 2 CPU cooler

EVGA GeForce GTX260 Core 216 896MB DDR3 Graphics Card 896-P3-1255-AR
A-DATA Gaming Series 4GB (2 x 2GB) 240-Pin DDR3 1600 SDRAM

Western Digital Caviar Black WD6401AALS 640GB 7200 RPM hard drive
Two (2) Samsung EcoGreen F2 HD154UI 1.5TB hard drives (for RAID1 media storage)
ASUS DRW-24B1ST SATA DVD Burner
Rosewill RCR-IC001 40-in-1 USB 2.0 3.5" Internal Card Reader

Scythe Kaze Master 5.25'' Bay Fan Controller
Three (3) YATE LOON 120mm Case Fans (D12SL-12)

Linksys WMP54GS PCI Wireless Card


Image

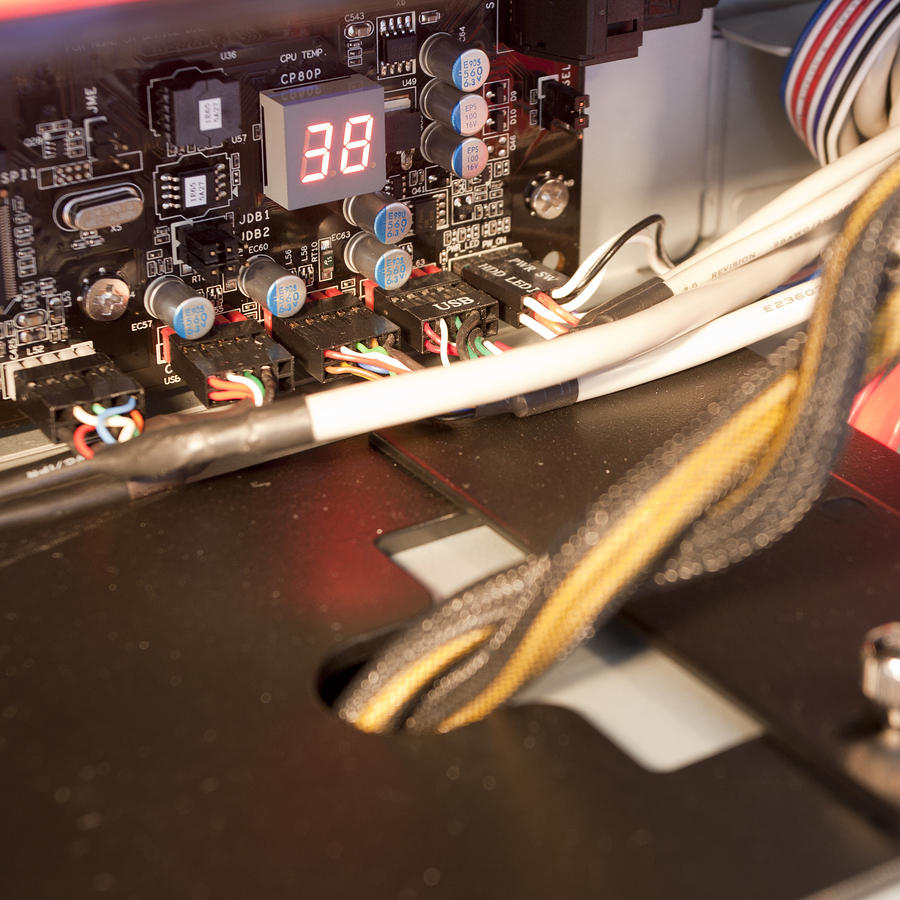
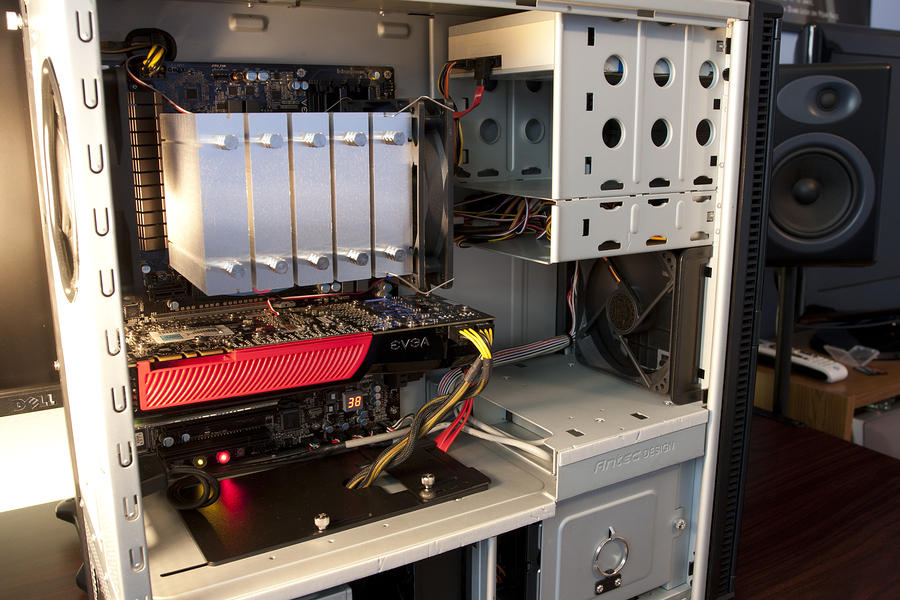
The rebuilding itself went pretty smoothly. I already had a good idea how I wanted things to look. There was a some difficult getting the 'back' cover on to the case with the wiring behind the motherboard. There is only minimal clearance in that gap so the motherboard power cable had to be massaged a bit to be flat enough for the cover to fit on. You may botice black paper sticking out of the front end of the case. It is intened to block light from the HDD LEDs from leaking out of the right front of the case.

Image


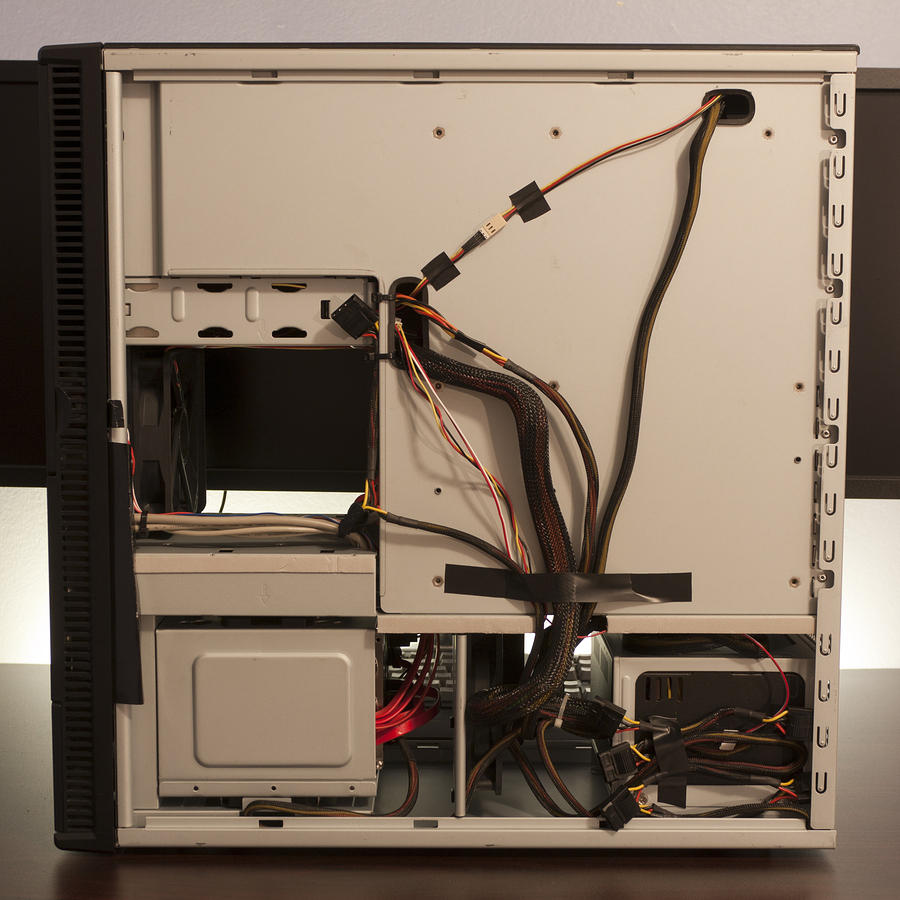
Overall, the two new wiring cutouts worked very well.

Image

Image

More pictures:

Image

Image

Image

Image

Image

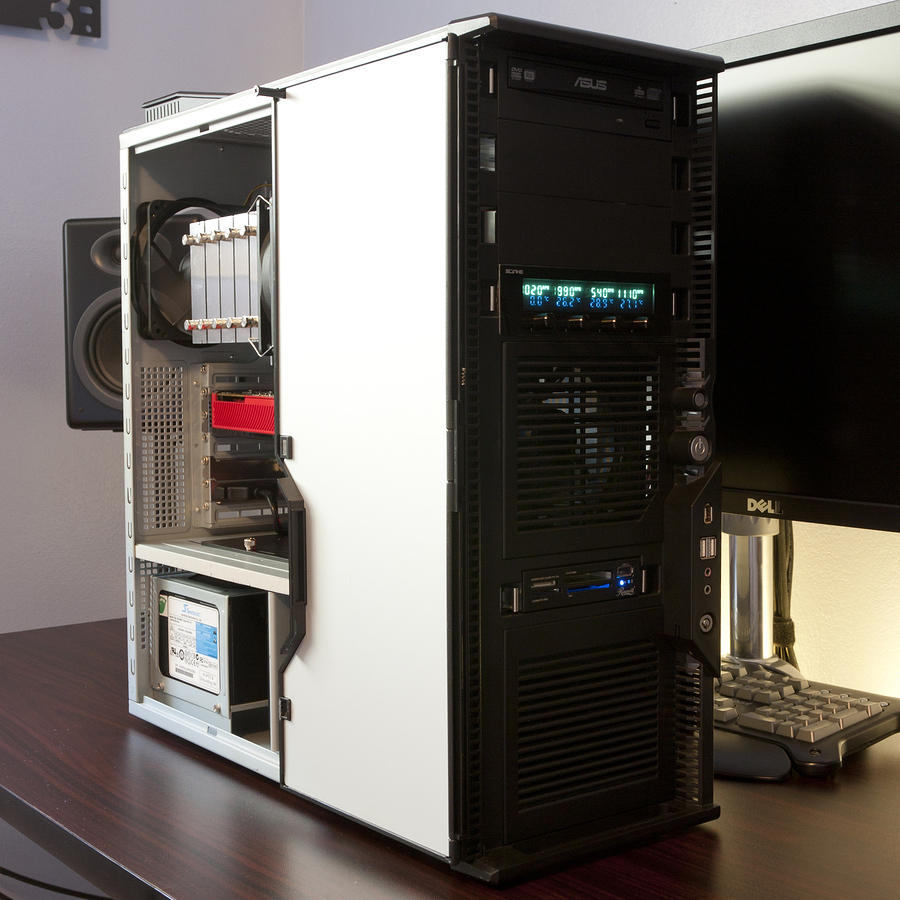
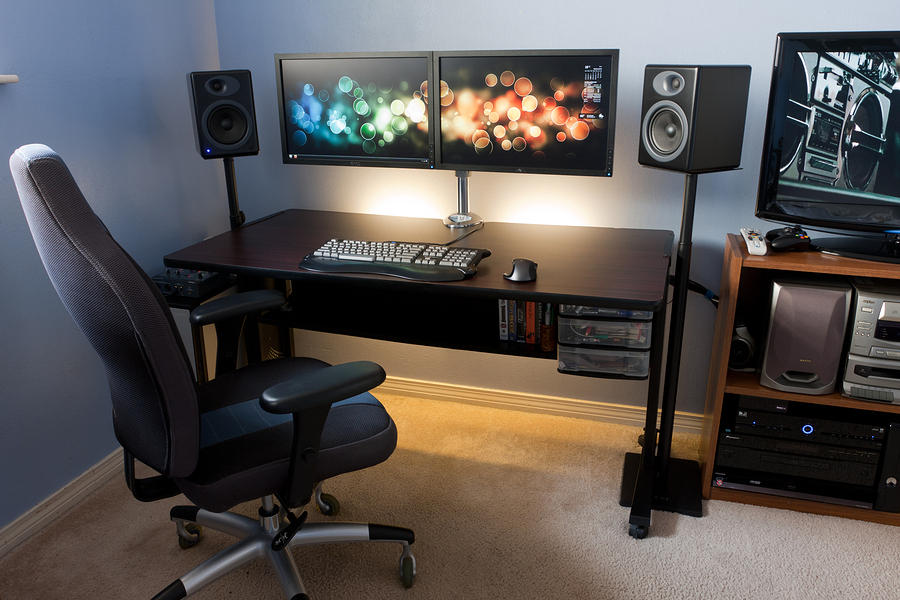
Case in it's natural habitat:

Image
Last edited by Mr. B on Sun Mar 03, 2013 6:40 pm, edited 2 times in total.

frenchie
Friend of SPCR
Posts: 1346
Joined: Tue Jul 08, 2008 4:53 am
Location: CT

Post by frenchie » Sat Jul 31, 2010 2:01 pm

Neet !!
Nice cutouts for a first time !! Well thought out too.
Those EVGA boards are nice : they finally got rid of their stupid northbridge heatpipe garbage !!

How is the noise compared to your previous setup ?

BTW, that's a nice desk area you've got there !

bonestonne
Posts: 1839
Joined: Mon Feb 05, 2007 2:10 pm
Location: Northern New Jersey
Contact:

Post by bonestonne » Sat Jul 31, 2010 2:01 pm

That is one very impressive build, very very clean, and I absolutely love that desk, very nice setup, and very well thought out.

Great cutouts too, very neat and well kept with that rubber around the edges.

Naturally that's a huge understatement. I definitely love it a lot, it looks amazing.

Mr. B
Posts: 72
Joined: Sat Nov 11, 2006 1:41 pm
Location: New Orleans
Contact:

Post by Mr. B » Sat Jul 31, 2010 2:28 pm

The noise levels are largely unchanged from the last build since I still have the same fans with the exception of the included fan with the Mugen which is quite good. I have them throttled to just under 1000 rpm. Moving air is barely audible within two meters where I sit. In the summer months, the ceiling fans drowns that out.

I could probably get the noise down a bit more with some better Noctua fans but since I'm not sleeping within a meter of the case.

When summer ends I should be able to dial down the fans even more and maintain good temperatures. Thanks to the tropical climate here and the wussy AC, the ambient temperature in this room is about 80 F.

speedkar9
Posts: 307
Joined: Fri Sep 19, 2008 1:39 pm
Location: Toronto, Canada

Post by speedkar9 » Sat Jul 31, 2010 3:44 pm

Nice and neat, I like it!

Now all you need is to paint the interior black 8).

jcsdkx51
Posts: 3
Joined: Wed Jul 10, 2013 1:32 pm

Re: Still... A P180 Rig: Mod for Behind the Motherboard Cabl

Post by jcsdkx51 » Wed Jul 10, 2013 1:41 pm

Hi, I know this is an old post. I love the pics and the mods. I've had my P180 for years and never had to do anything too it but have recently been experiencing some overheating and am going to adopt some of your mods. As well as an Antec Kuhler or Corsair H80i for my Phenom II X6. I was wondering what material you used to make the rubber edging on the cable holes and fan gills you cut? Hopefully you're still around and can give me an idea. Thanks!

Mr. B
Posts: 72
Joined: Sat Nov 11, 2006 1:41 pm
Location: New Orleans
Contact:

Re: Still... A P180 Rig: Mod for Behind the Motherboard Cabl

Post by Mr. B » Sat Jul 13, 2013 9:08 am

It's called "edge molding. Several varieties are available online. Edge molding for car doors can be found at auto parts stores.

BTW, I am still using this same rig, largely unchanged. I did rotate the Scythe Mugen heatsink 90 degrees so its now mounted the 'right' way. I've also upgraded the RAM and replaced the Wi-Fi card with a Powerline ethernet solution.

flemeister
Posts: 346
Joined: Mon Dec 28, 2009 1:42 am
Location: Australia

Re: Still... A P180 Rig: Mod for Behind the Motherboard Cabl

Post by flemeister » Sat Jul 13, 2013 10:19 pm

Another name for it is U-Channel. Comes in various thicknesses. The thicker sizes will give a nice solid look and feel, while the thinner sizes will grip the edge better -- but also not have as much to grip with -- and of course be better suited to smaller holes. Get a few metres of each size IMO, so you can always choose the best size for the hole. :)

I was rocking a P182, until moving to a custom SG07 rig ~8 months ago. So I didn't have to cut any cable management holes, though I did use edge molding after cutting out the rear fan grill and for a PCI cooler bracket: viewtopic.php?f=14&t=63926&p=557669#p557669

Image

Post Reply