Success Story - Switch case, Antec SOLO to Antec P182b

Show off your quiet rig.

Moderators: NeilBlanchard, Ralf Hutter, sthayashi, Lawrence Lee

Post Reply
mark314
Friend of SPCR
Posts: 82
Joined: Tue Aug 14, 2007 8:02 am

Success Story - Switch case, Antec SOLO to Antec P182b

Post by mark314 » Wed Aug 15, 2007 8:42 pm

Since I build this computer I have felt like it’s too loud and too hot. When I built it, I went for power and reliability and data security – hence the 3 storage drives. They were intended as a RAID5. I don’t know where I got the idea that a 600W PSU behemoth was required but ... it was too late to go back.

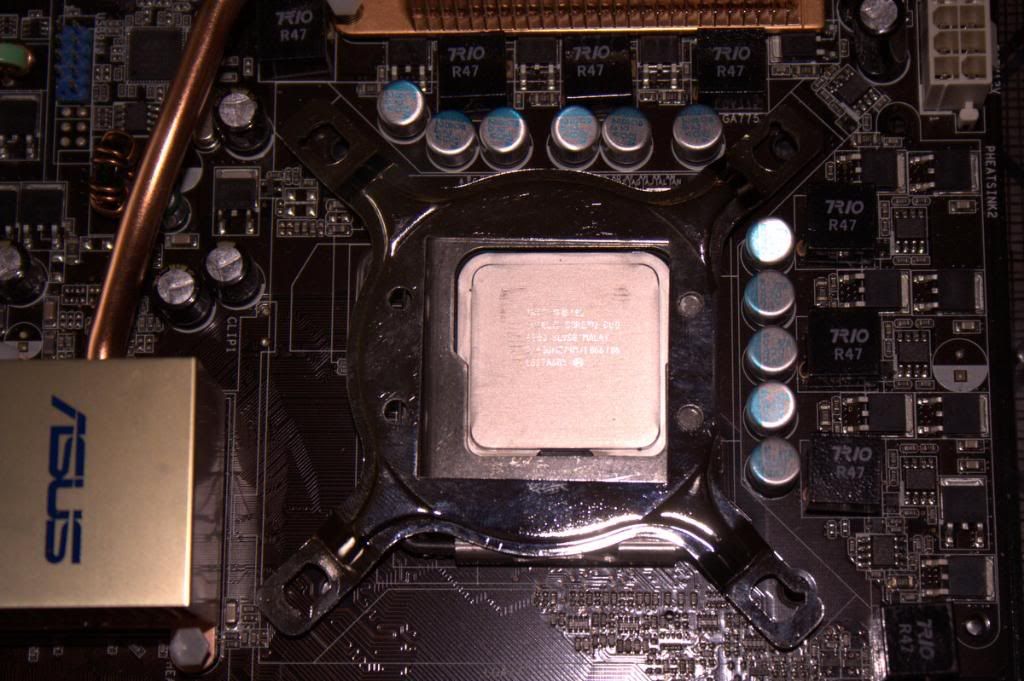
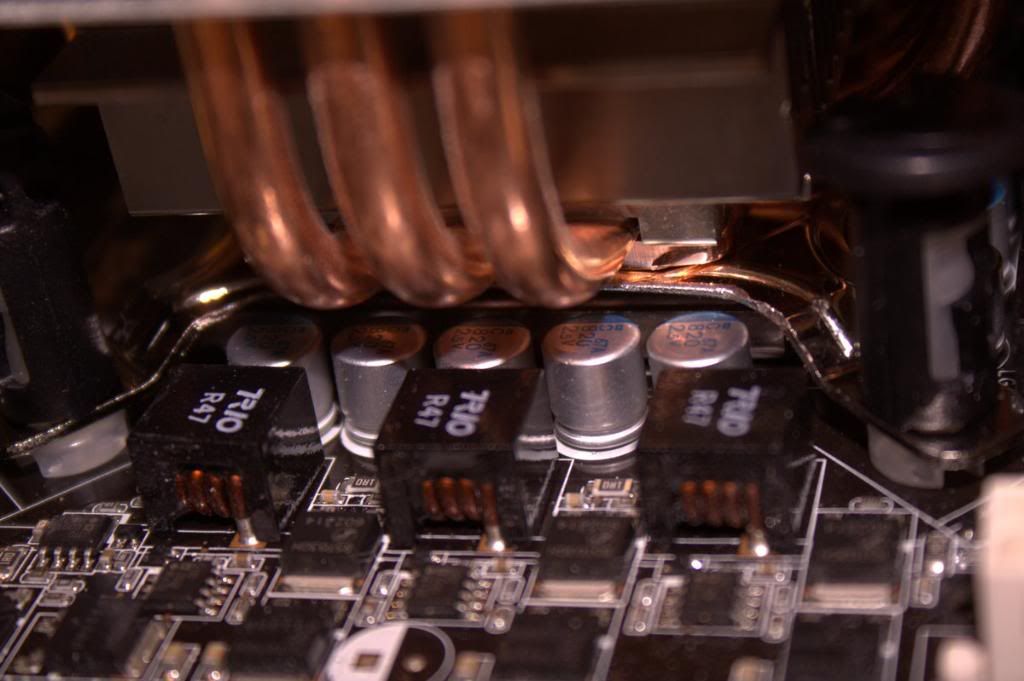
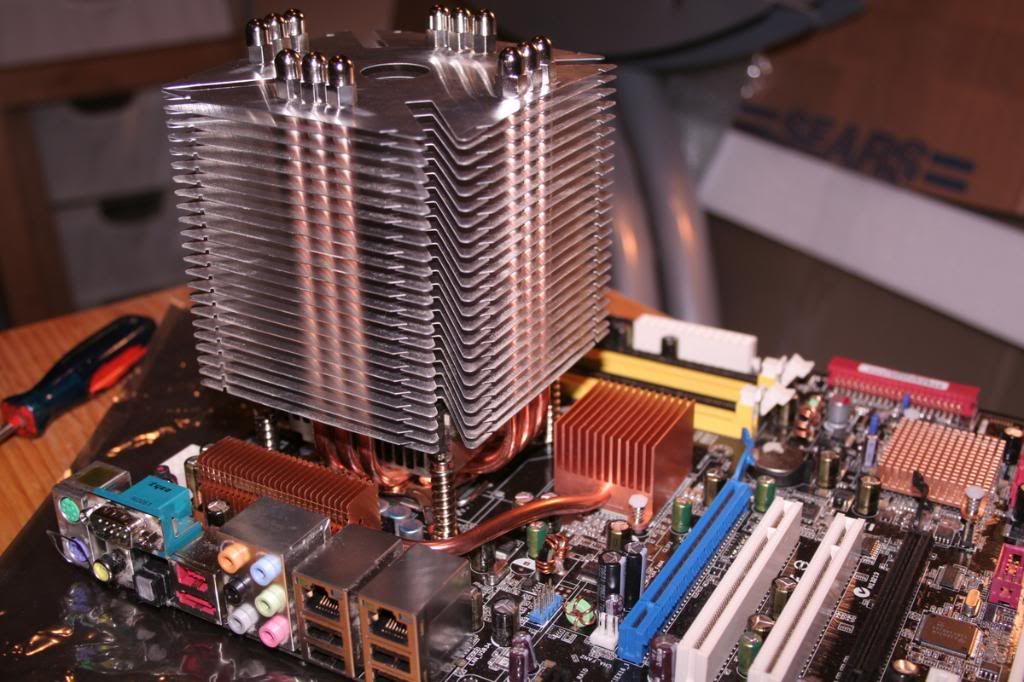
When they mounted the Ninja onto the P5B at the store, I didn’t question it. But when I started looking at SPCR I saw that a lot of people had mounting problems, and when I looked closely, I saw that the mount was pressing down on a line of capacitors.

So. Part 1: Adapting the mount to fit the motherboard.

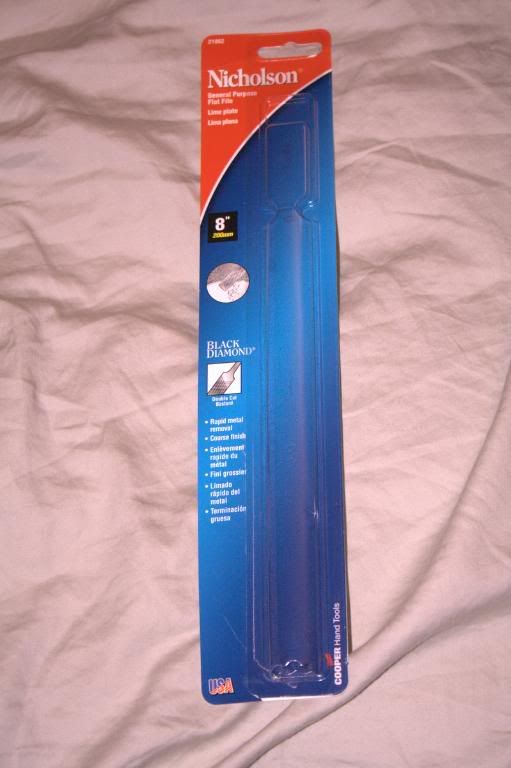
I tried to get tin snips on a suggestion here at SPCR to trim down the mount. The guy at Home Depot who tried to snip the mount suggested instead a heavy duty file. So I bought a 'Nicholson Black Diamond' file.

Image

Image

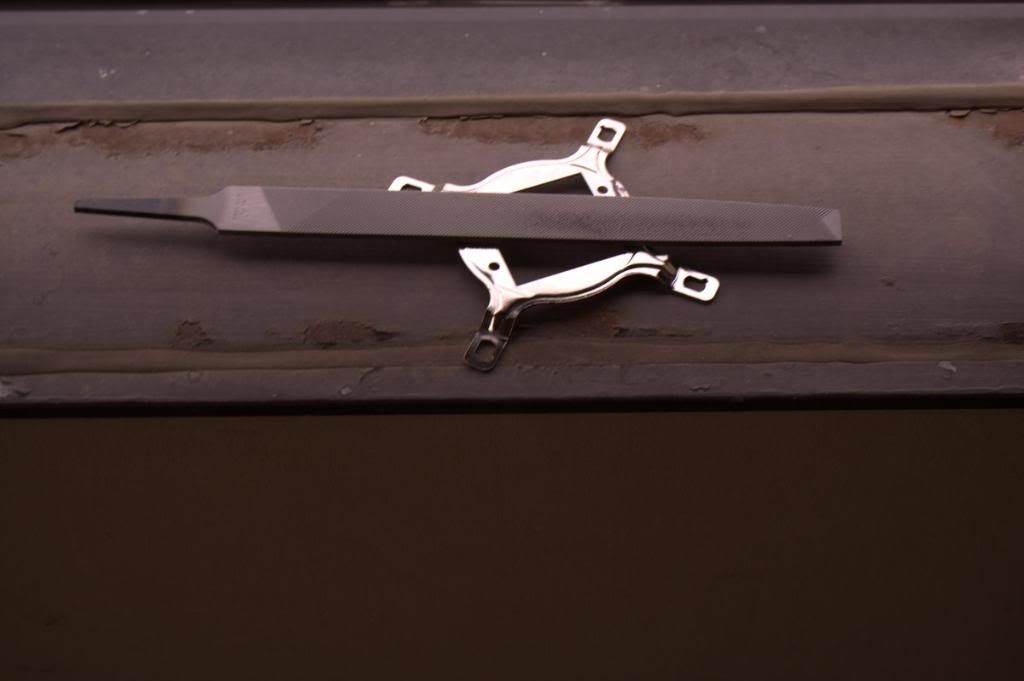
About 30 minutes of filing while cooking dinner on the BBQ resulted in this:

Image

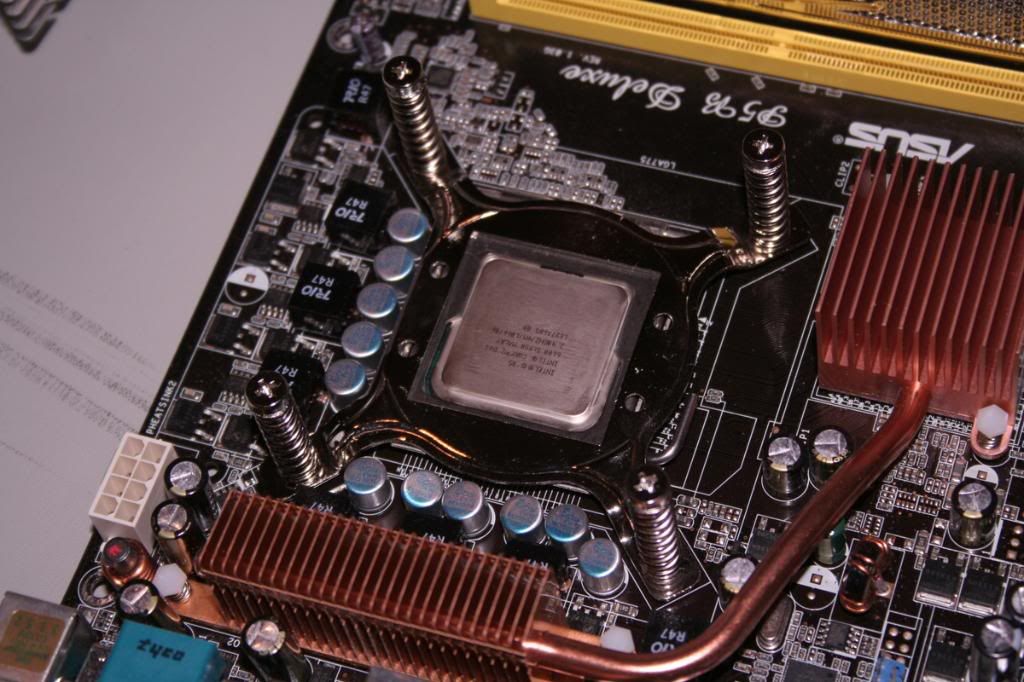
You can see it sitting on the motherboard - it sits flat now.

Image

Image

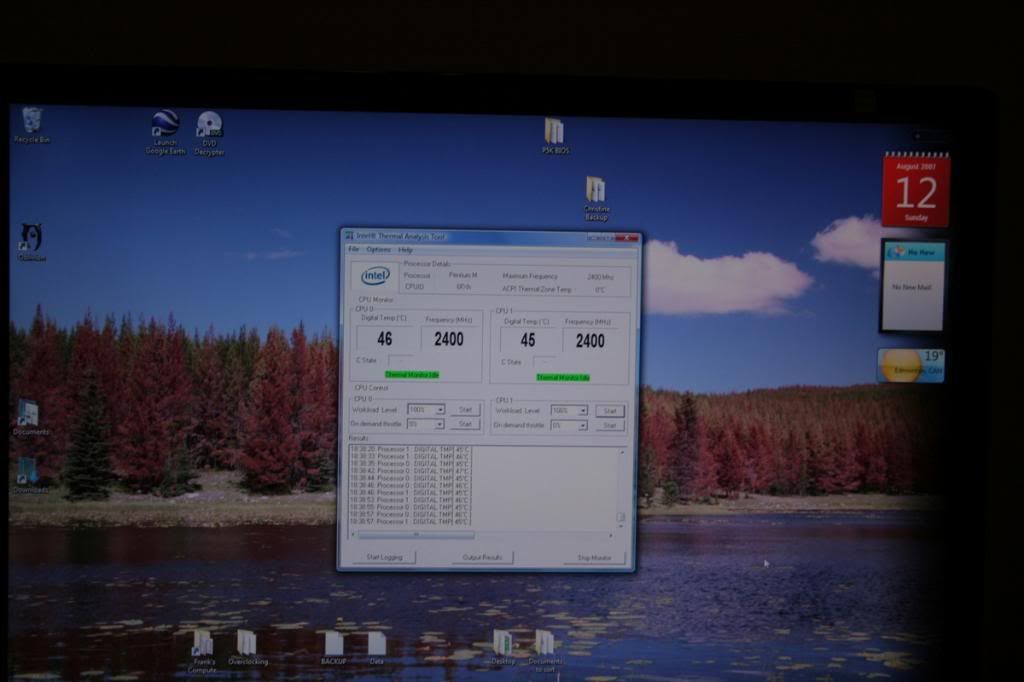
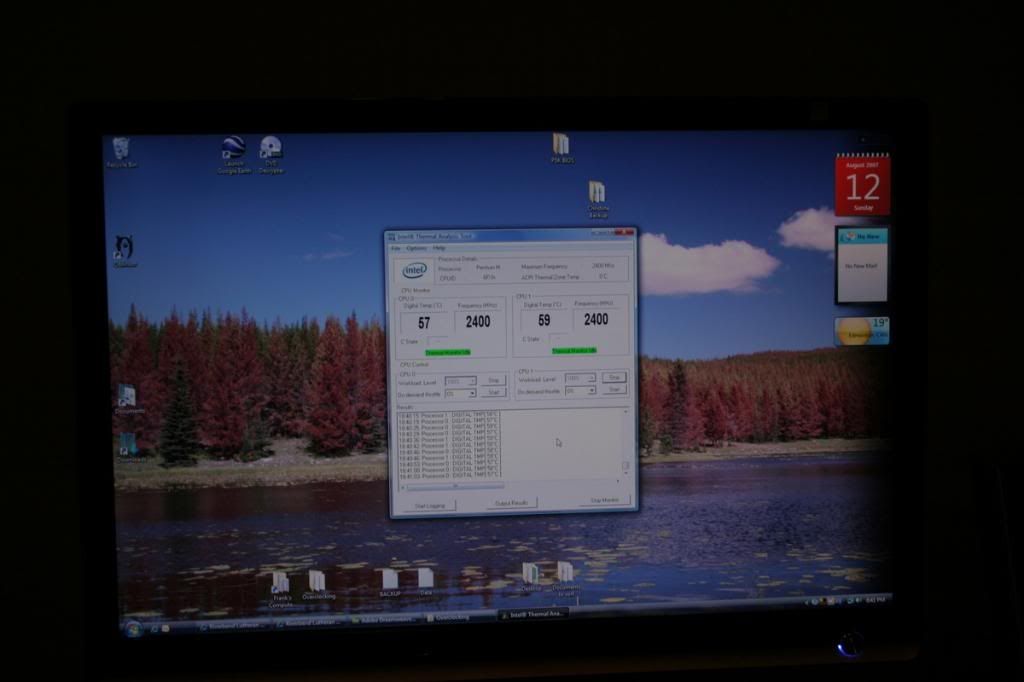
I remounted the Ninja with the plastic mounts into the Antec Solo. It seemed to help but still nothing too fantastic. The power supply fan continued to ramp up immediately and the system still idled at 47C and loaded at 59C (stock E6600).

(Idle)
Image

(TAT 100% Load)
Image

---

On to Part 2: The case swap and Ninja re-mount.

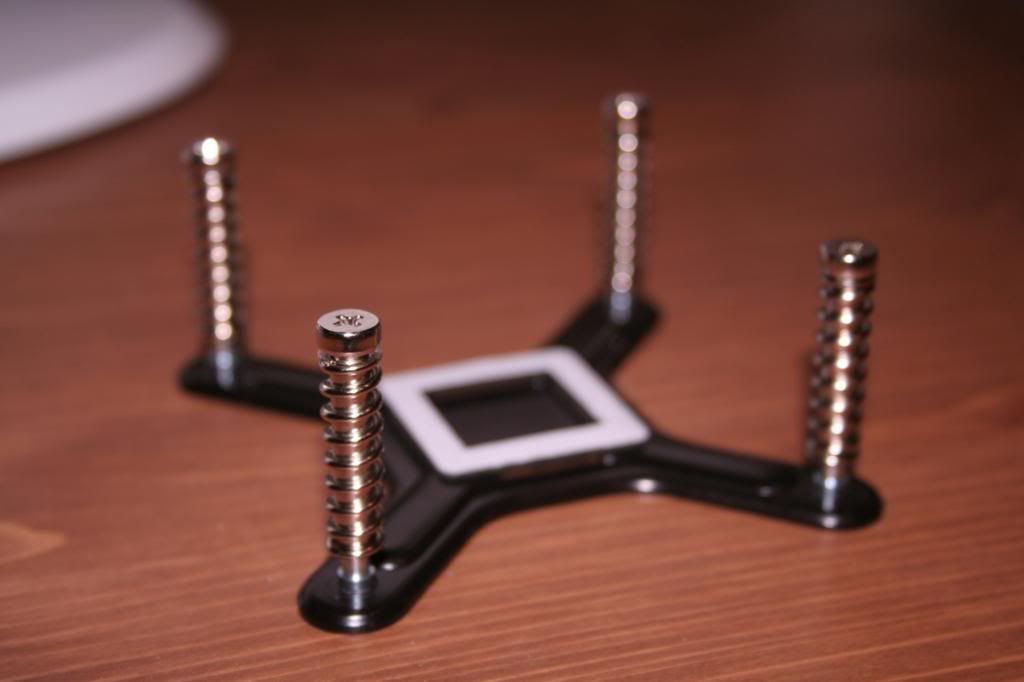
A couple of weeks ago I bought a bunch of YL fans and a Thermalright bolt-through kit from jabtech.com (which is a great place).

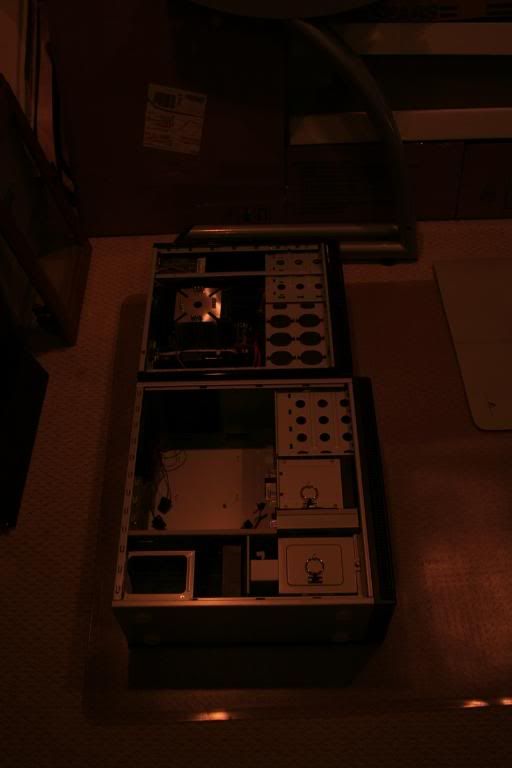
I was sick of my fan being so loud, and I was sick of the really cheap case on my second computer so I bought an antec p182b and a Corsair HX520 to rebuild my system with. My old SOLO and OCZ case went to the server as a nice upgrade.

Top: old computer in the SOLO. Bottom: the P182b
Image

The thermalright bolt-through kit
Image

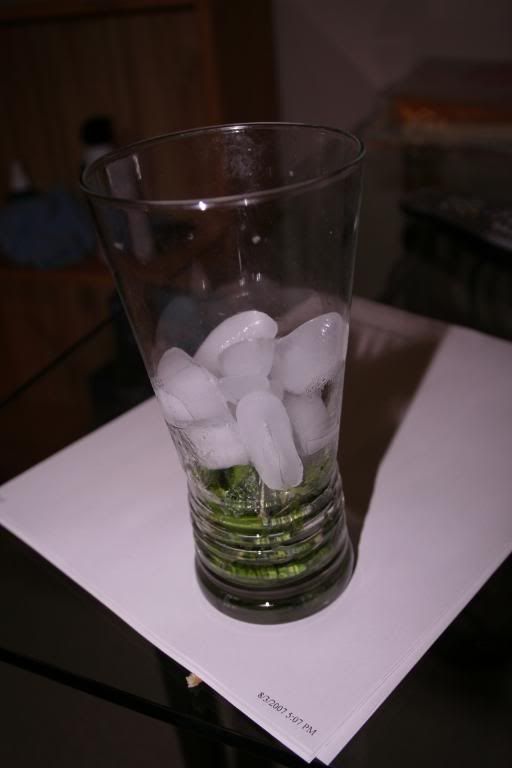
The Mojito I was drinking...I made a lot of these that night.
Image

The disassembled computer
Image

Step 1: remove CPU. Whoops, there's a hair on it!
Image

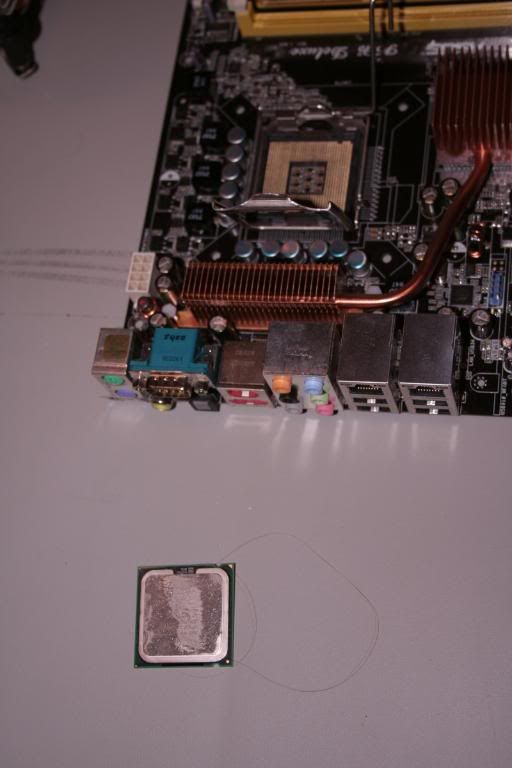
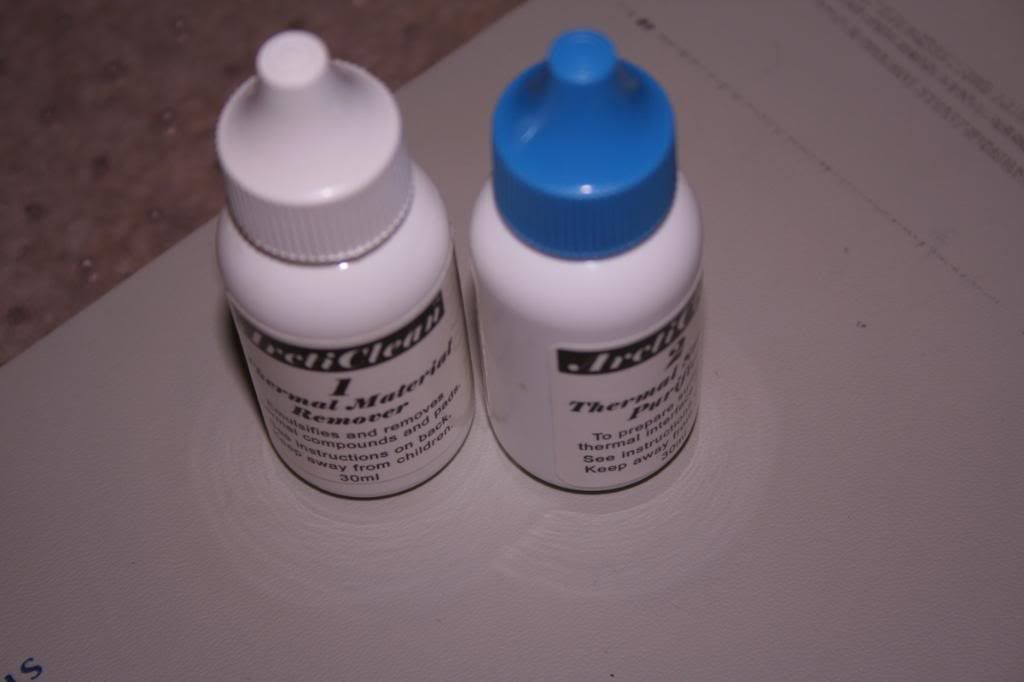
Step 2: clean it and the Ninja
Image

Step 3: Prepare to mount the Ninja - this is how it will go on
Image

Step 4: Mount it. I had a HECK of a time with this. The backplate was centered beneath the motherboard, the Ninja rested on top, and I had to reach my fingers in to twist each screw. The screw is spring loaded and the springs aren't held in place, so often when I thought I was twisting the screw, I was just spinning the springs.

I Eventually had to use a really long screwdriver to reach down through the Ninja to screw them into place. The screwdriver was the wrong size so I had to press really hard and guide with my fingers.

Note: The first screw goes in okay but the second one (opposite side) you really have to push the heatsink down with one hand while screwing it in with the other. It's hard. Really.

Mounting the heatsink took me the better part of an hour. My advice: get a really long screwdriver that will go down the length of the heatsink tower and screw it in from the top.

It's finally done.
Image

The backplate.
Image

The finished product. It's under a table so I don't have the best angle.
Image

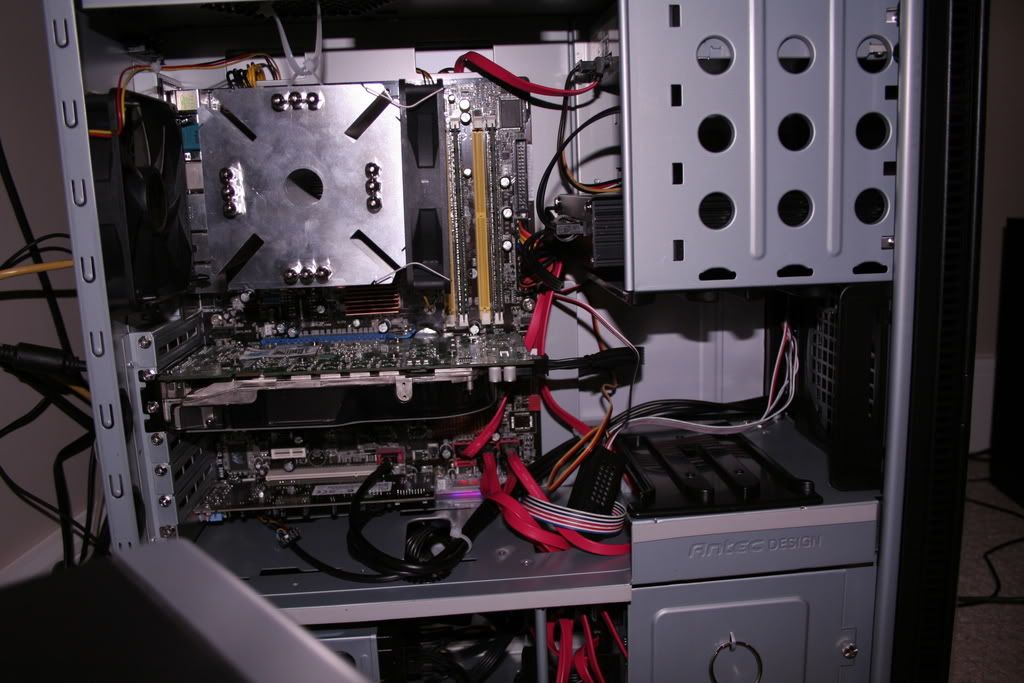
My Nexus hard drive enclosure holding the Raptor. Can you see it?
Image

Results: Much quieter, even when the PSU fan spins up (playing Oblivion). The raptor idles quietly but that never really bothered me - what bothers me now is the *really* loud seeks that vibrate the whole case. I think I will replace the nexus in the 5.25" slot with a suspension system for the raptor.

All in all a success though - my temps dropped from 47/59 (idle/load) to a much better 37C idle, 48C load. Ambient temp around here is about 24C.

Part 3 is still to come, and it involves upgrading my motherboard to a Asus P5K, and moving the Asus P5B motherboard and the 3 storage drives to the second computer to use as a file/web server. I just bought a house though...so I'm kinda out of money.

Thanks for listening. Hopefully this helps to encourage Ninja use - the bolt-through kit cost 6 bucks and (once its on) works like a charm.

Mark

sauron256
Posts: 8
Joined: Tue May 29, 2007 6:57 am

Post by sauron256 » Wed Aug 15, 2007 10:30 pm

Thanks for sharing. That's very clever using the Thermalright LGA retention kit with the Ninja.

I look forward to your next post where you move to the new Asus P5K motherboard. I'm planning on buying pretty much the exact setup you have planned and am very curious to see how the Ninja fits the P5K board.

In fact, I'll get the Thermalright retention kit and the Ninja Heatsink since I've heard so many complaints about the plastic push pins.

Fayd
Posts: 379
Joined: Thu May 10, 2007 2:19 pm
Location: San Diego

Post by Fayd » Wed Aug 15, 2007 10:36 pm

i'm REALLY glad you posted this.

i had bought one of those thermalright mounting kits as well, but i was kind of concerned about whether or not it would actually work with the ninja.

i dont have any interference issues using the ninja, just that the stock ninja mounting system is too weak for my tastes.

mark314
Friend of SPCR
Posts: 82
Joined: Tue Aug 14, 2007 8:02 am

Post by mark314 » Thu Aug 16, 2007 8:02 am

Glad I could help. I've looked and looked before on SPCR and while I found lots of "use a bolt-through kit" posts I haven't actually seen one used.

The kit is great - it screws down a set amount only before it stops, so you don't have to worry about overtightening.

The problem is mounting. Make sure you have a super-long screwdriver that can go down the length of the heatsink so you can screw in the bolts from the top. Then, get a friend. You will need someone to shift the heatsink from side to side to get it close enough to the board to be able to screw in the bolts. Since I didn't stick the backplate to the motherboard, I had to put the backplate on a flat surface and fit the motherboard on top of it.

When I was mounting I had to 1) maneuver the heatsink onto the mount holes (you can't tell if it's centered over the whole unless you are looking down from the top), 2) keep pressure on the motherboard so the backplate screw mounts stay in the S775 mounting holes, 3) keep pressure on the heatsink mount get the heatsink as close to the motherboard as possible (so that I could screw in the bolt) and 4) screw in the bolt itself. Hence the need for a friend.

I'd also recommend using latex gloves - I left fingerprints all over my heatsink and motherboard.

When I do swap motherboards I will do the mounting right...I did *alot* of twisting and shifting of the TIM'd heatsink on the CPU and I'm afraid that that might be having an adverse effect on my temps.

Fayd
Posts: 379
Joined: Thu May 10, 2007 2:19 pm
Location: San Diego

Post by Fayd » Thu Aug 16, 2007 9:27 pm

mark314 wrote:Glad I could help. I've looked and looked before on SPCR and while I found lots of "use a bolt-through kit" posts I haven't actually seen one used.

The kit is great - it screws down a set amount only before it stops, so you don't have to worry about overtightening.

The problem is mounting. Make sure you have a super-long screwdriver that can go down the length of the heatsink so you can screw in the bolts from the top. Then, get a friend. You will need someone to shift the heatsink from side to side to get it close enough to the board to be able to screw in the bolts. Since I didn't stick the backplate to the motherboard, I had to put the backplate on a flat surface and fit the motherboard on top of it.

When I was mounting I had to 1) maneuver the heatsink onto the mount holes (you can't tell if it's centered over the whole unless you are looking down from the top), 2) keep pressure on the motherboard so the backplate screw mounts stay in the S775 mounting holes, 3) keep pressure on the heatsink mount get the heatsink as close to the motherboard as possible (so that I could screw in the bolt) and 4) screw in the bolt itself. Hence the need for a friend.

I'd also recommend using latex gloves - I left fingerprints all over my heatsink and motherboard.

When I do swap motherboards I will do the mounting right...I did *alot* of twisting and shifting of the TIM'd heatsink on the CPU and I'm afraid that that might be having an adverse effect on my temps.
i got tools a-plenty. i'm sure i got a long shaft screwdriver somewhere among them :P

question: i'm not really clear on this point... is it just simply the standard base on the ninja, and the retention kit? cause i dont see how using the standard base on the ninja, there would be enough width to start engaging the springs on the retention screws.

but then, maybe the base on the ninja doesnt actually touch the motherboard. i dont know :/

mark314
Friend of SPCR
Posts: 82
Joined: Tue Aug 14, 2007 8:02 am

Post by mark314 » Fri Aug 17, 2007 6:58 am

No, there is a threaded screw mount rising up a bit from the backplate itself.

Image

See it? That is about the distance between the Ninja mount and the motherboard floor.

The baseplate has a bit of spring too it because of the sticker on the bottom that I didn't peel off. So that foamy adhesive is a bit springy. When you are screwing in the bolts and applying pressure it pulls the Ninja mount downwards and the backplate upwards. The screw threads stick out through the S775 mounting holes. When all the bolts are screwed in fully, they stop automatically and their springs extend to the top of the backplate screw mounts. I think then that the Ninja mount itself also sits at that spot, in contact with the bolt springs, but offset from the motherboard by the height of the backplate screw mounts.

Make sense? I wish I had a better picture...you can just barely see what I mean in the rightmost bolt in this picture:
Image

Next to the northbridge heatsink - you can barely see that the bolt spring extends downwards to a point and then stops when it's in contact (and pressuring) the Ninja mount. beneath that is a few mm of backplate screw mount. That's probably about the same amount of clearance as is when you use the push-pins:
Image

deio
Posts: 16
Joined: Wed Jun 20, 2007 9:51 pm

Post by deio » Wed Oct 24, 2007 12:23 am

You can put that Raptor drive in the bottom chamber, but use one of your low rpm fans in the chamber to suck some air from outside. If you use the lowest drive chamber, it has the silicone gromets attached to it, use them to mount the drive, it will surely reduce the vibration and it will also cool the drive, since the air will pass through the chamber. I have seen Raptors with P182 in the bottom chamber and noone complained about the noise. :wink:

Post Reply