
I'm a long time reader, first time poster on these forums but just thought I'd let you in on my own experience of installing and using the Accelero S1 I've just got my hands on.
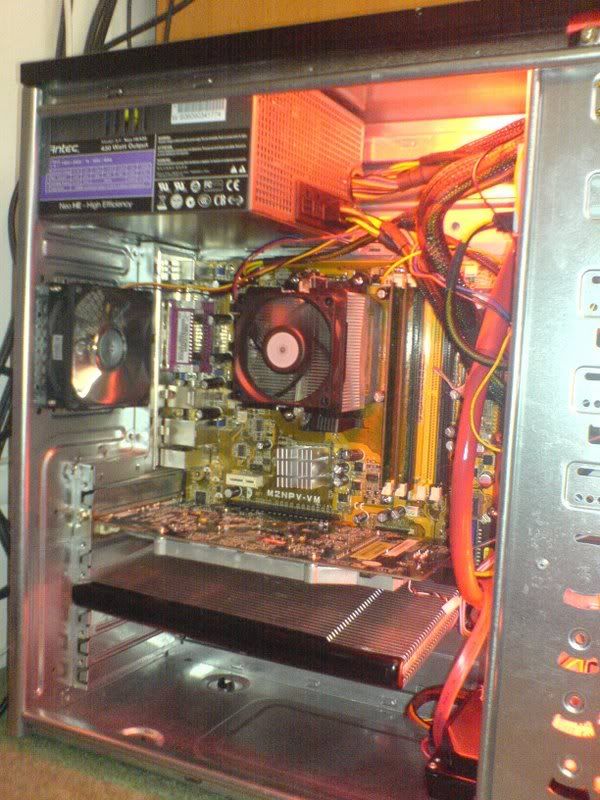
I heard about this passive cooler a while ago but only tracked one down from PCSilent.de a couple of days ago. I wanted one to go on my Sapphire 1950pro, so I ordered it, it arrived and that's where the fun began!
It comes with a load of little RAM heatsinks and a big one to go over the voltage regulators, but these certainly weren't designed to fit on the sapphire version of the card, so in the end I chucked them.
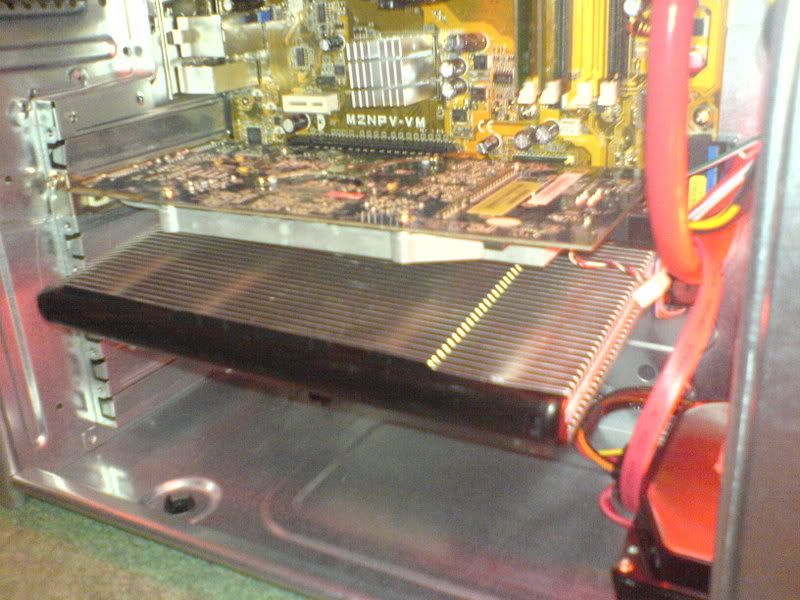
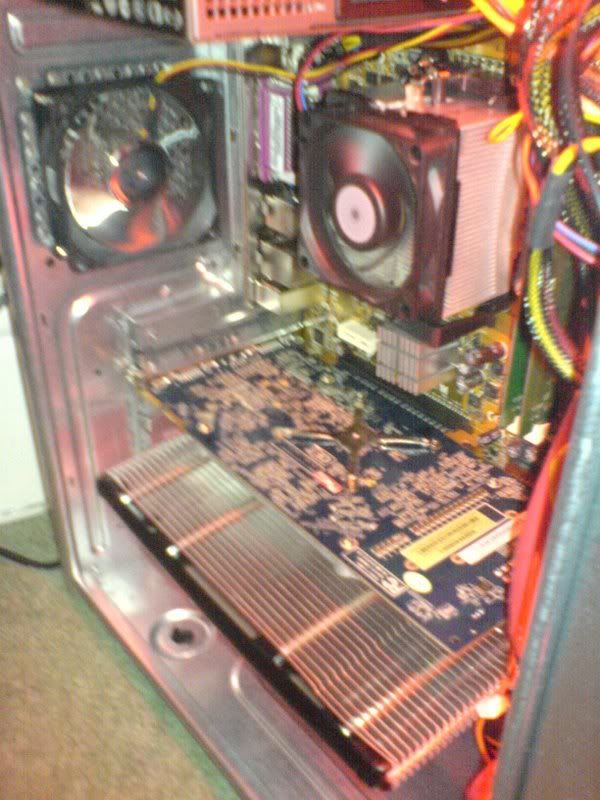
Instead, I took a hacksaw to the original heatsink/heatspreader that came with the card (which was very easy to disassemble anyway) to give enough room to fix the new (enormous) heatsink to the GPU.
It basically went something like this:
1. Undo all screws.
2. Remove lid from original heatsink, exposing innards and fan.
3. Pull off the whole original heatsink and remove the central section designed to cover the GPU.
4. Unplug the original fan and remove it if you want - I left it on.
5. Cut off side of original heatsink/heatspreader to give enough room for the 4 copper heatpipes the Accelero S1 has.
6. Screw it all back together again and plug it back in!
That's what I did, and it looks pretty ugly, if I had more time/equipment, I could've done better. However, it seems to be pretty effective.
So far it has been far better than the stock heatsink and fan! On startup its 33'c. After a while it heats up a bit, idling at 43-45'c. I've not fully tested it under load yet, but I'll add that information later when I do, probably play Battlefield 2 for a while and see how it copes. Case temperatures overall have not changed.
But the best bit of course is that it's totally silent! I couldn't have asked for more, I love it! Now I need to replace a 120mm fan that before I could not hear, but now in the silence has a definite buzz to it.
Overall: Well chuffed.
I've got photo's but I'll post them in a bit.
PS. I'm a first time poster, so sorry if this is in the wrong section, though I'm pretty sure it isn't, admins feel free to move this to anywhere more appropriate, cheers.


