khughes wrote:Thanks for the help guys.
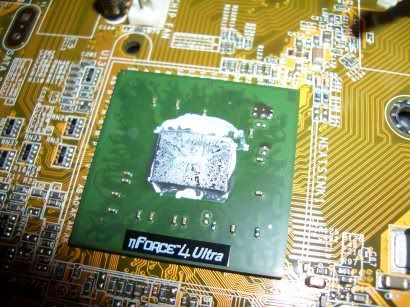
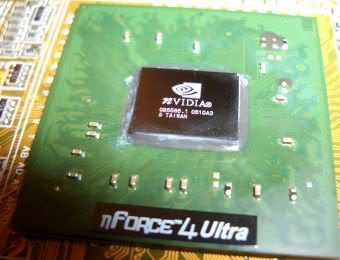
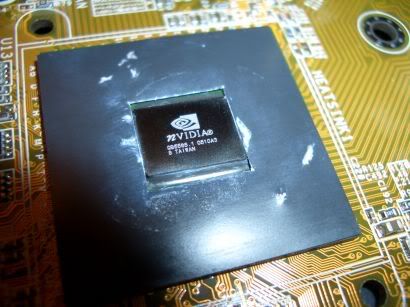
Here's a picture of it cleaned up as best I could with an old T-shirt, My thumbnail and some alcohol.
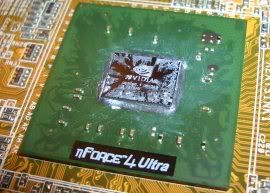
Nifty logo, eh?
I have put a NB47J on an nF4 chipset myself, it felt like I could easily hurt the core when fastening the NB47J with the push-pins. Also, the nF4 is more elevated from the mobo than other chipsets, so I was unable to fasten it with the push-pins that came with the Zalman NB47J. I had to use the push pins originally mounted on the mobo (Asus A8NE-FM). May not be the case for you, just wanted to let you know.
khughes wrote:
The white stuff must be thermal grease as it was creamy and cleaned up pretty well, but there was this pink stuff, that was the consistency of chewing gum and behaved like chewing gum, too. impossible to get off. Thats the residue still on the chip itself. ended up using my thumbnail very gently to take as much as I could off.
If you have one of these:
http://unimaxsupply.com/md/images/wpe1.jpg
or similar... the ones you clean the inside of your ears with. Dip it in alcohol and try to clean more.
khughes wrote:
Does it need more cleaning or do I go with the thermal goo that comes with the Zalman NB47J (assuming it comes with some, it arrives Monday)?
just throw on the goo that comes with the Zalman
khughes wrote:
Also arriving Monday is the Scythe Ninja. Any surprises there? At least there is no clean up as that will be a fresh installation.
going for passive cooling?
